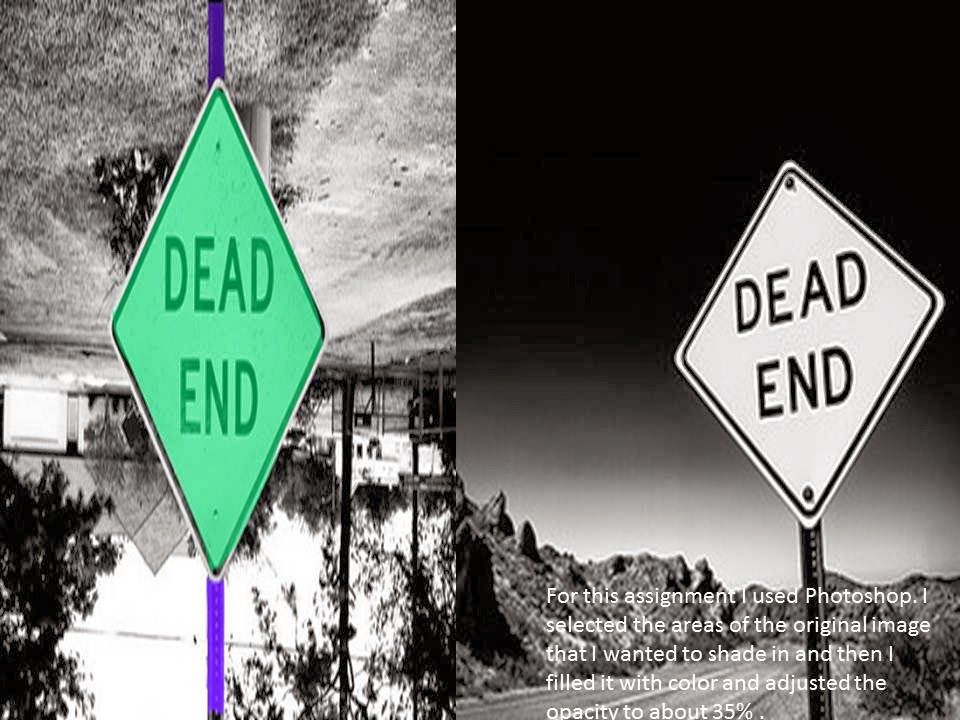
Thursday, January 9, 2014

3rd Marking Period

#21a
For this assignmet I utilized google sketch up and I used the stencil tool to create these  shapes.
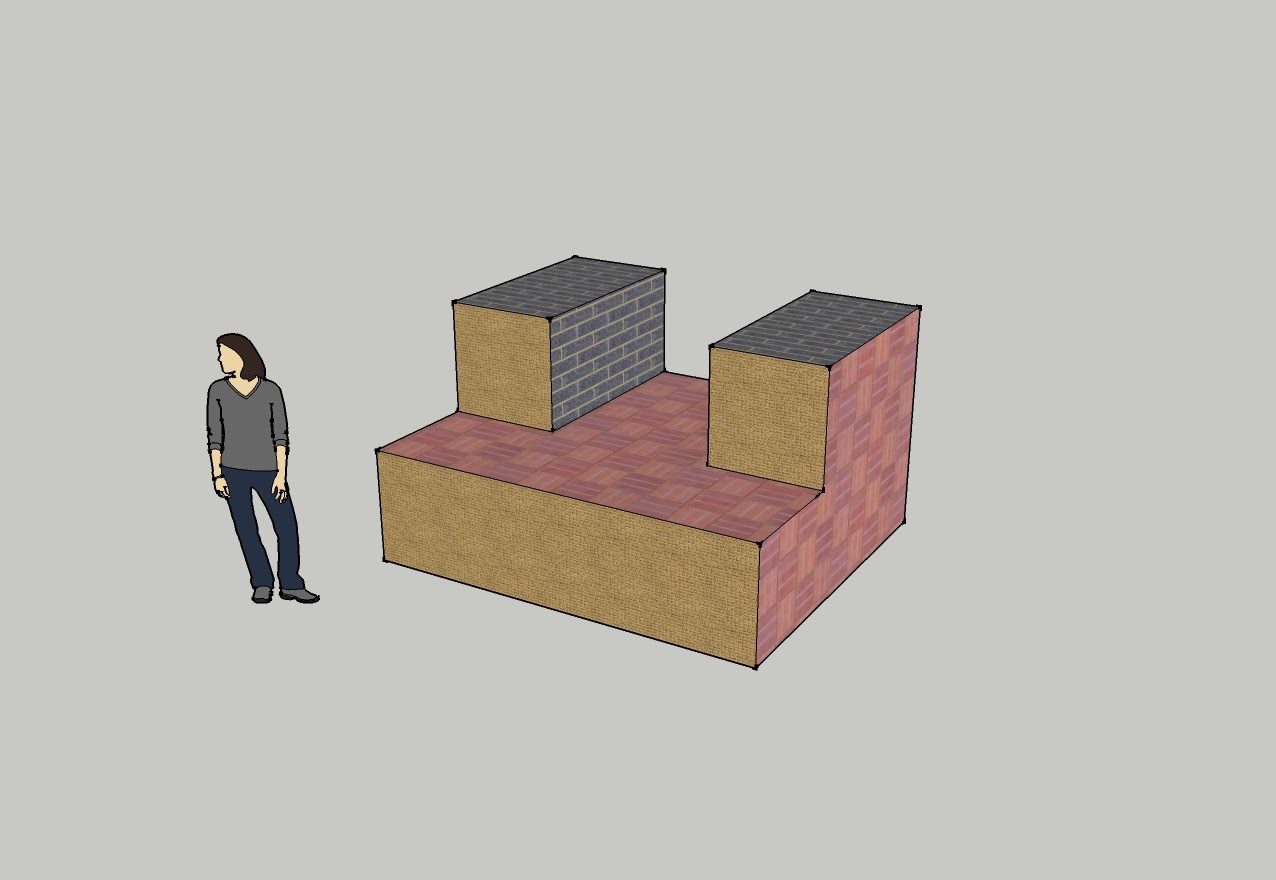
#21b
After using the stencil tool to draw the 2D shapes I then used the push and pull tools to make the images look 3D.

#22 (Block 1)
Dimensions:
Length- 8'
Width- 5'
Height- 5'
#22 (Block 2)
Dimensions:
Length- 8'
Width- 6'
Height- 5'
#22 (Block3)
Dimensions:
Length- 10'
Width- 4'
Height- 6' 
 #22( Block 4)
Dimensions:
Length- 7'
Width- 7'
Height- 4'

#22(Block 5)
Dimensions:
Length- 8'
Width- 5'
Height- 5'

#22( Block 6)
Dimensions:
Length- 8'
Width- 5'
Height- 6'

#22 (Block 7)
Dimensions:
Length- 8'
Width- 5'
Height- 6'

#22( Block 8)
Dimensions:
Length- 10'
Width- 5'
Height- 6'

#22 (Blcok 9)
Dimensions:
Length- 10'
Width- 4'
Height- 6'

#22 (Block 10)
Dimensions:
Length- 11'
Width- 4'
Height- 6'

#22 (Block 11)
Dimensions:
Length- 8'
Width- 5'
Height- 6'

#22 (Block 12)
Dimensions:
Length- 9'
Width- 4'
Height- 6'
To create each of these blocks I used the stencil too and the measuring tool to measure the length, width and height, I then used the push and pull tool to create a 3D look. After I created a solid box I used the stencil tool to outline the parts that I wanted to get rid of. I then used the the push and pull tool to remove the parts I didn't need. Lastly, I colored each block differently to give each of them a unique look.
 #23


#24


#25

 I opened a 800 x 600 pixel sheet 

 (QUIZ)
What is GIF?
A GIF  (Graphics Interchange Format) is an image file that is compressed to reduce transfer time.

How does animation work?
Animation works by presenting images with minor differences in a steady progression, so that it tricks the eye into believing that the image is actually moving.

Wednesday, November 20, 2013

2nd marking period

#11: Flyer from scratch of "Noche de Ciencias" or PJ DAY 2013
 
I made the background by using the gradient tool and then I filled the background a specific shade of green and to add the graphic, I inserted the pictures from the "My Pictures" folder. I then transformed each picture (ctrl+t) and then placed them next to each other.

#12: Adding Texture via Layers
To create this dress I found a plain black dress through google and then found a pattern.  I used the lasso to outline the dress. I set the dress as the background and created a new layer with the texture. I had the copy merge on and set the the texture on the dress and then I lowered the opacity

#13: Change one thing Poster from NYC Food Bank
To create this mimick of a Food Bank NYC poster , I saved a picture of an open bag of chips and a picture of a bunch of grapes. I used the magic wand to crop out the chips in the bag in order to replace it with grapes. I opened a new layer and named it "background" and then placed my picture onto the background.

#14: Jack O' Lantern
I found a picture of a pumpkin. On that, I used the pen tool and outlined the face of the pumpkin including the eyes, nose, and mouth. I made sure to clean up the edges of the pumpkin with an eraser. I started a new layer and named it "Fill." Then I just adjusted the blending options on each layer that I had created and added a text layer.

#15a & b: Creating a "Painted" effect on wall then face.
For this assignment I saved a picture of a brick wall and a Jamaican flag. I unlocked the layer of the brick wall and then dragged the picture of the flag onto the layer. I then adjusted the light and opacity of the picture.

#16: Smart Filtering with Motion Blur
 
For this assignment I sofened the entire picture and then used a brush tool to un-softend the black jaguar.
#17: Quick Masking to add a desire effect
For this porject I placed a light grey effect to the entire picture. Then I used a small paint brush to apply small dark grey circles to his face.

#18: Soft Filtering Skin tones.
I saved a picture of the beautiful Beyonce then I added the Gaussian Blur to the background copy which softened the entire picture. I then used a brush tool to outline her eyebrows, lips and cheeks.
 
#19: Flash Drive
 

I used Adobe illustrator to create this flashdrive. I made alot of rectangles and put them together to create this image and then I rounded the edges od the USB.